Get started
Try the demo, plan your setup, then install. You can stop after any step.
Came from Safety features? Go to step 3: Install →
Step 1
Try the live demo
Open the live demo. It is the real dashboard running on synthetic data, with a 13-step tour.
Live demo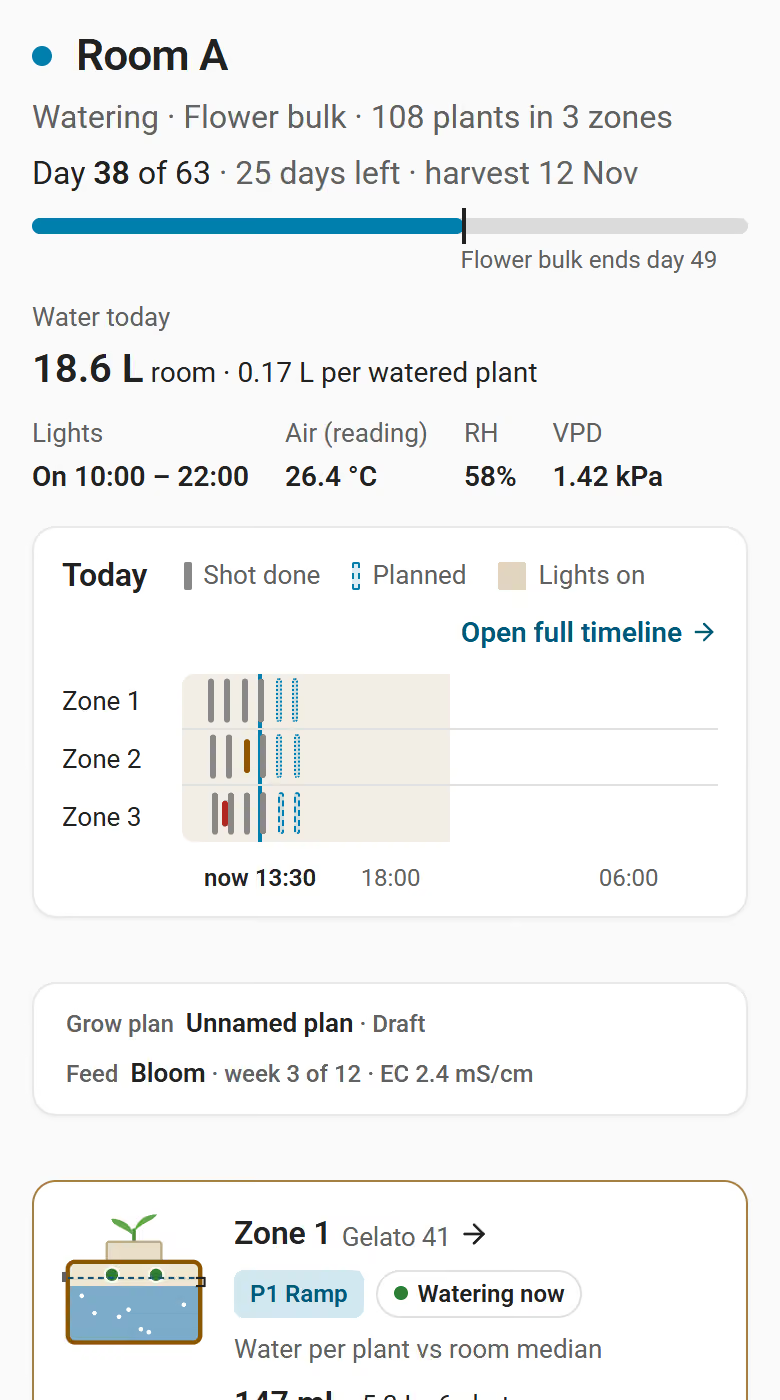
Step 2
Plan your setup
Check your hardware, take the fit check and learn the terms.
Hardware
Supported devices and what you need.
OpenFit check
Six yes/no questions.
OpenGlossary
VWC, pore EC, dryback and the rest.
OpenAcademy ↗
24 free captioned video lessons, from water and roots to planning a grow.
OpenBuild a grow controller (new to Home Assistant)
Raspberry Pi or Intel NUC, sensors and your first irrigation zone.
Open
Step 3
Install
- 01Open in HACS: download the integration and restart Home Assistant.
- 02Add Crop Steering: enter a room name and the zone count.
- 03Add the app repository and install Crop Steering Controller. Keep each room's Watering switch off.
- 04Open Crop Steering in the Home Assistant sidebar.
- 05In Equipment › Setup: pumps & valves, map each zone's valve and probes.
- 06Enter substrate litres per plant, plant count and dripper output, then catch-test the actual output.
- 07Choose Review configuration, then Save configuration, and wait for Mapping acknowledged.

Next steps by role
New to Home Assistant
Start here: Build a grow controller (new to Home Assistant)
Then the Academy, the hardware guide and the install guide.
Have Home Assistant, new to crop steering
Start here: Live demo
Then how it works, the glossary and the install guide.
Already steering, want to switch
Start here: Check your hardware
Then the fit check, the install guide and the user guide.
Installer or hardware and software maker
Start here: System map
Then the notes for makers, the entity reference, the MCP connector and the roadmap.